The initial plan was to finish this project around my birthday in mid-July. However, it ended up getting delayed and pushed to before my December 2025 Orlando trip. The new deadline is to complete the dress in time for the Orlando Universal Studios trip.
This time, I started by trying draping, which is a fashion design technique used to shape a garment directly on a dress form. The whole process involves translating the design in your mind by pinning, folding, and shaping the fabric into the silhouette and pattern you envision.
Since it was my first time making a dress completely from scratch—and doing draping instead of traditional pattern-making—I watched a lot of YouTube tutorials. One helpful video is linked below:
Step 1
I prepared my dress form by marking the fundamental lines with tape to ensure I had the correct structure and body shape for the dress I wanted to make.
Step 2
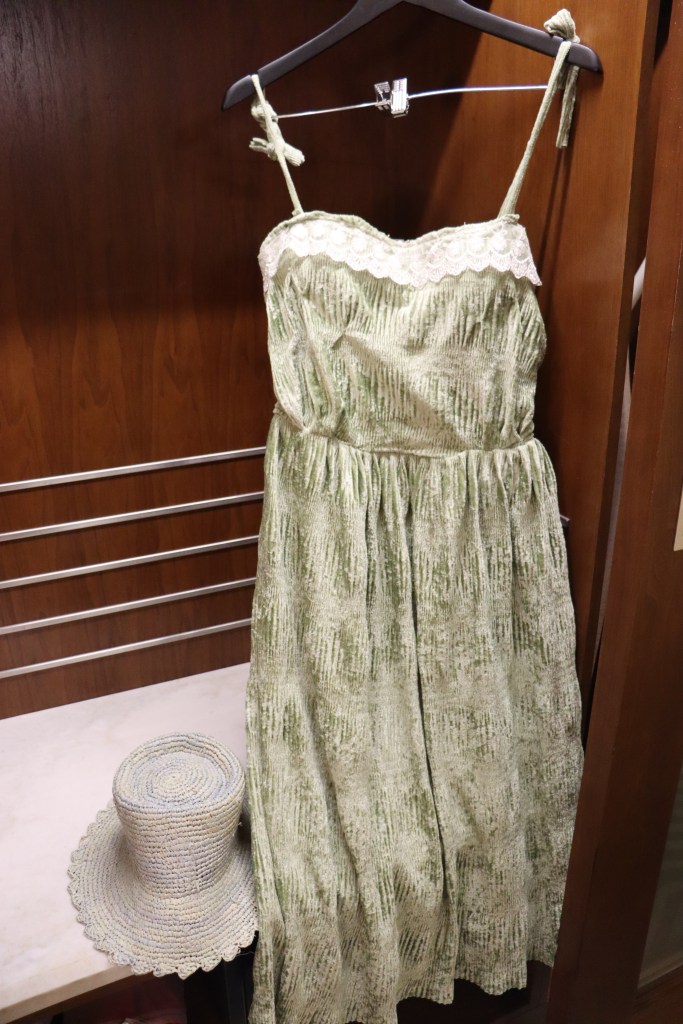
I started with muslin fabric to test the darts and draping. To be honest, if you already feel comfortable with the draping process, you can skip muslin and use a fabric with a texture similar to your final fabric. I found that my velvet draped very differently from the stiff muslin, so the shape I got from muslin didn’t perfectly match the final result.
(For this step: use as many pins as possible—you’ll really need them!
Also, avoid leaving any bulky spaces inside the darts, as they will affect how clean the final dress looks.)


Step 3
Once I had the desired drape on the dress form, I removed the pins and took the fabric off to start sewing the pieces together. Make sure to mark as many notes as possible; once you remove the fabric, it’s easy to forget the details.
Take photos before removing the fabric if necessary.
Step 4
Transfer the draped fabric onto pattern paper and draw out the pattern. Don’t forget to add seam allowances. Double-check all your pattern pieces.
Step 5
Cut your final fabric using the pattern pieces and begin sewing.
I had a total of 7 pieces: 4 pieces for the top (2 front, 2 back), 2 straps, and 1 bottom piece.
Step 6
I added an invisible zipper to the dress. I learned how to sew one from the video below, which I found extremely helpful (and there are plenty more online):
My zipper still ended up slightly uneven and a bit bulky, but I hope with more practice I’ll improve.
Step 7
Adding lining
Many of my store-bought dresses have lining, and it’s especially necessary if your fabric is slightly translucent. I decided to include a lining layer to improve the overall finish. I learned how to sew lining using this video:
I also made a mistake here: I tried to simplify the process and didn’t use the exact same pattern as the outer layer. As you can imagine, this resulted in a lining that was too small, making the dress impossible to wear. (Don’t make the same mistake!)
Always cut the lining with the exact same size and shape as the outer layer.
These are the basic steps in simplified language. Of course, there are many small details I didn’t cover in this blog, but I’ll leave those for you to explore and enjoy as you continue your sewing journey.


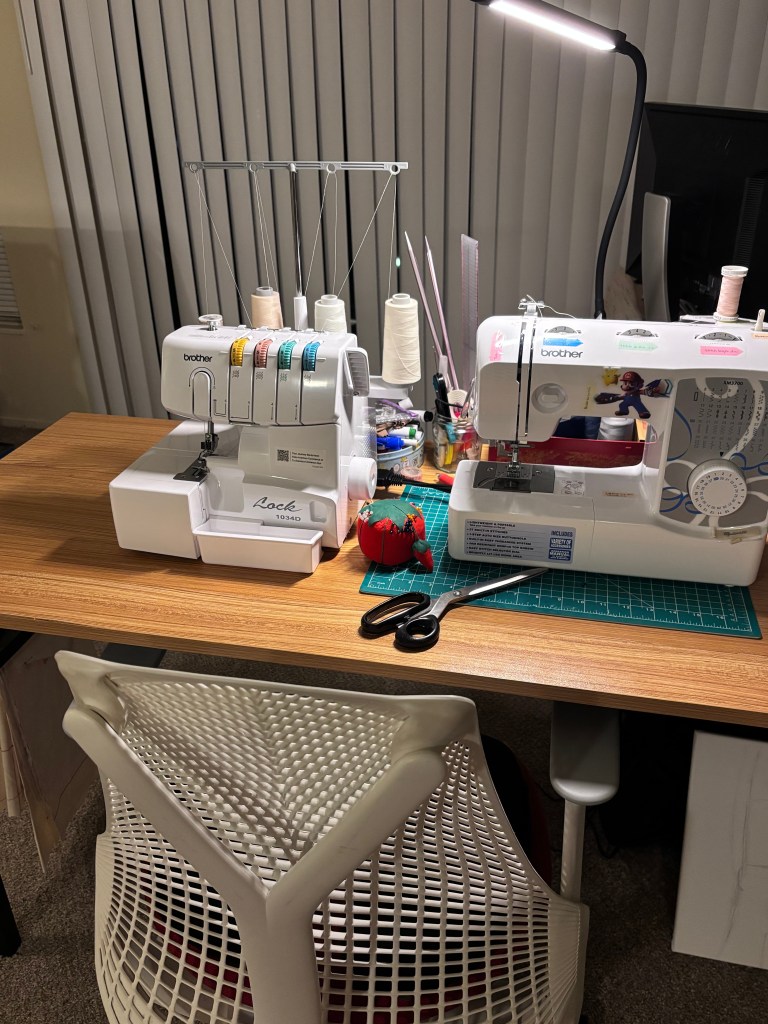
By the way, during Black Friday I bought a serger, and I absolutely love it — it makes my life so much easier.